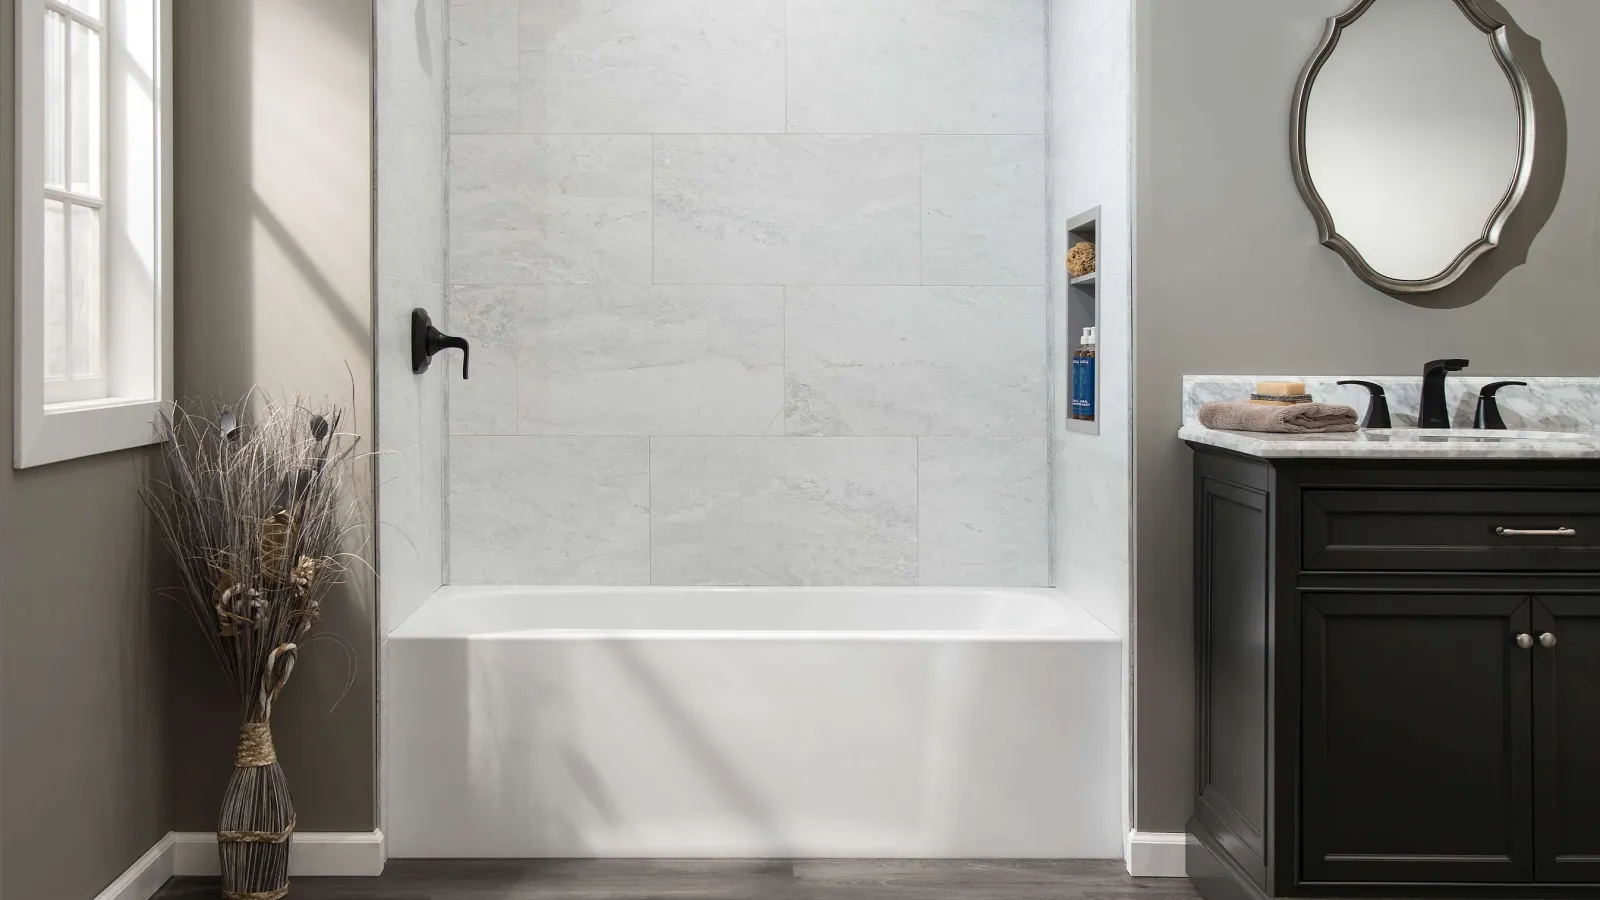
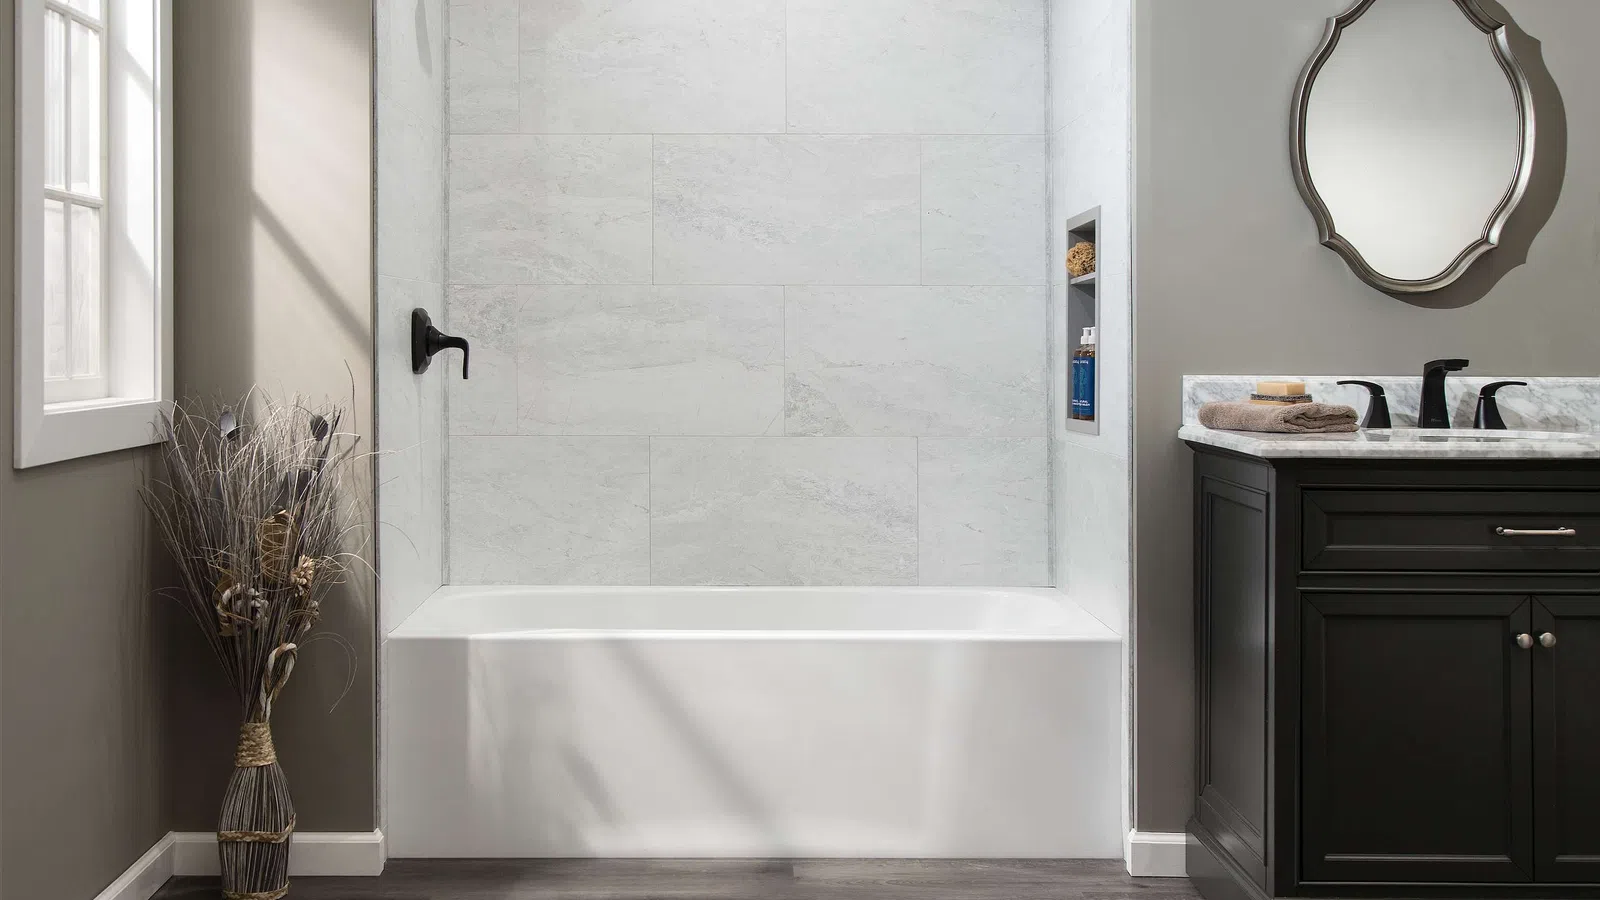
Modern bathroom with white bathtub, dark wood vanity, decorative mirror, and wood-look flooring under natural light.

Last Piece In Row Installation

Last Piece in a Row Installation

25min Read
DIY Experience Recommended
Download PDF Watch Video

Tools and supplies needed:

  • Protective eye wear
  • Measuring tape
  • Utility knife
  • Level
  • Hand saw or circular saw/table saw
  • Drill bit & jig saw (for cutting holes)
  • Caulking gun for 10.3 oz. adhesive tube
  • Adhesive for PVC panels. Recommended adhesives: Loctite® Power Grab® Ultimate (white formula only), Titebond® Titegrab Ultimate®, Liquid Nails® Fuze It® and Manus® 75-AM HV
  • Silicone-based sealant
  • Optional: Matching trim
  • Optional: Wood shims
Set of various construction tools including safety glasses, measuring tape, utility knife, level, saw, drill bit, jigsaw, and caulking gun.

Installation of Last Tile In a Row

If you are using corner and/or L-trims for a Palisade shower kit installation, the following information will show how to install the last, short tile at the end of a row. Read and follow if your project looks like this. Optional rubber gloves and water in a squirt bottle may make this task easier. The challenge is to place the remaining tile section into the edge trim while also getting the interlocking tile edges locked together (image A).


First, install the inside corner trims into each corner using adhesive. Allow 24 hours for the adhesive to cure. Make sure the corner trims are oriented as in the image right. Each inside corner trim piece has a full and a partial channel. The full channel will be against the back wall. The drawing (Image B) shows a top cross-section view of facing inside corners.

A

Light gray textured wall tiles installed around a corner bathtub with a white rim and gray trim.

B

Diagram showing correct palisade tile installation direction with drywall corners and orange adhesive lines.

Next, determine the length of the tile section.

Measure from the inside lip of the previously installed tile to the inside edge of the pre-installed trim. See image at right for details. In this case, the length to cut the final tile in the row is 4-3/4-inches (image C). After cutting tile to length, apply adhesive to the substrate, as shown (image D). Spray a squirt or two of water onto the substrate and adhesive. This will lubricate the substrate allowing for easier movement.


Insert the cut tile edge into the L-trim while holding the interlocking joint-edge away from its mating tile. Insert the cut end into the edge of trim channel while holding other edge up (image E). Push the tile into the edge trim while laying the tile down toward the substrate. When pushed into the trim entirely, the interlocking edges will be exposed (image F).
C

Yellow Stanley tape measure measuring the width of a recessed wall section at about 3.5 inches.

D

Person applying white caulk with green caulking gun to corner between gray and tiled walls.

E

Worker wearing gloves installing rectangular gray tile with black arrow marking on wall corner.

F

Hand with protective glove installing gray ceramic tile on wall with black directional arrow marking.

Position tile into place.

The tile can now be manually pulled into place. Pull the tile toward the interlocking joint (image 24). If necessary, rubber gloves can be used to increase grip friction with the surface of the tile. Keep pulling until the interlocking joint is tight and in place (image G & H)).

Use a damp rag or paper towel to clean off any sealant or adhesive that may have been squeezed onto the tile surface.

G

Pair of MaxiCut protective gloves with gray and black coating on tiled surface with black arrow.

H

Close-up of gray textured stone tiles installed on walls with metal trim in between.