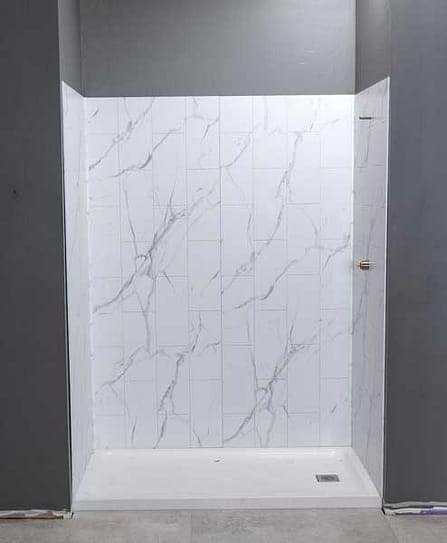
Shower Size: 36″ Depth 60″ Wide x 36″ Depth x 78″ Tall
Panels Included:
- 2-interlocking Panels 30″ x 78″ = 60″ Width
- 2– Panels 36″ x 78″ = 36″ Depth (Sides: R & L)
Matching trims included:
- 2 – J-Trim 78″ tall
- 2 – L-Trim 78″ tall
- 2 – Inside Corner Trim 78 “ tall
Shower Size: 32″ Depth 60″ Wide x 32″ Depth x 78″ Tall
Panels Included:
- 2-interlocking Panels 30″ x 78″ = 60″ Width
- 2– Panels 32″ x 78″ = 32″ Depth (Sides: R & L)
Matching trims included:
- 2 – J-Trim 78″ tall
- 2 – L-Trim 78″ tall
- 2 – Inside Corner Trim 78 “ tall
Shower Size: 30″ Depth 60″ Wide x 30″ Depth x 78″ Tall
Panels Included:
- 2-interlocking Panels 30″ x 78″ = 60″ Width
- 2– Panels 32″ x 78″ = 32″ Depth (Sides: R & L)
Matching trims included:
- 2 – J-Trim 78″ tall
- 2 – L-Trim 78″ tall
- 2 – Inside Corner Trim 78 “ tall
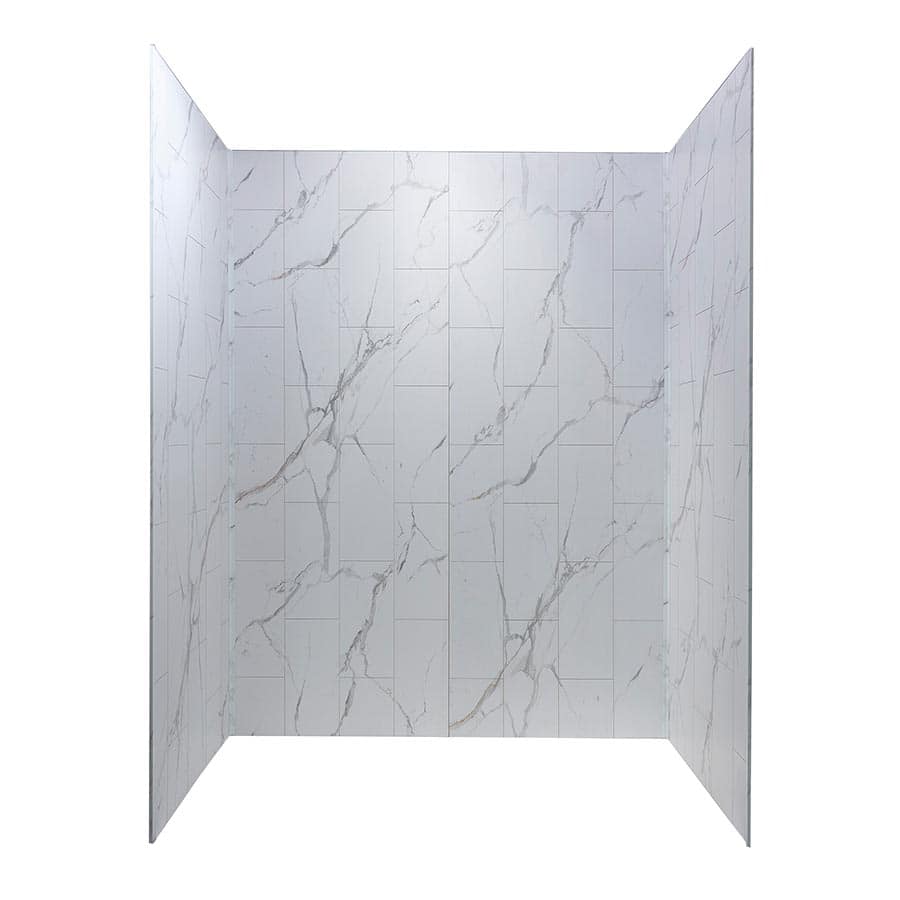
2-Wall Shower 36″ Wide x 36″ Depth x 78″ Tall
Panels Included:
- 1-Panel 36″ x 78″ = 36″ Side 1 (R)
- 1– Panel 36″ x 78″ = 36″ Side 2 (L)
Matching trims included:
- 2 – J-Trim 78″ tall
- 2 – L-Trim 78″ tall
- 1 – Inside Corner Trim 78 “ tall
Note on Panel Sizes:
The panels included in the Palisade shower wall system are designed to be installed in a standard 60-inch wide shower system. As such, all panels measure nominally smaller than the stated size to allow for ease of handling when fitting the tongue and groove feature, and to accommodate the corner trims.
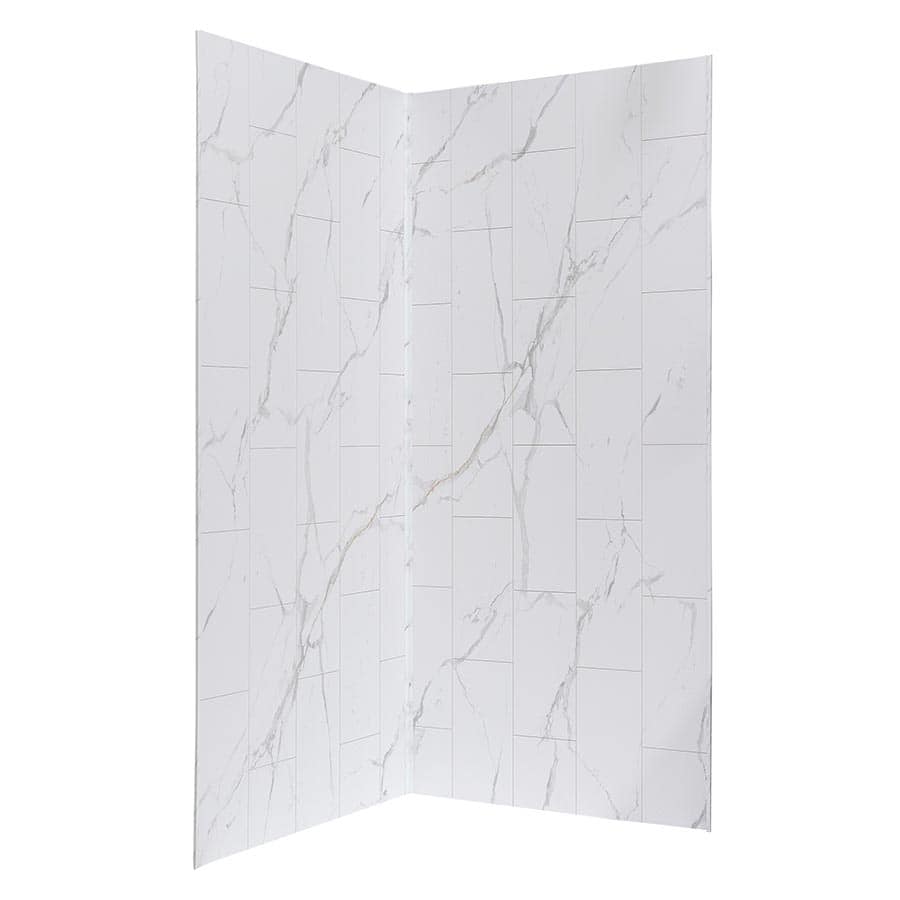
Preparation for installation
Before starting, make sure all surfaces are clean, dry, smooth and free from dust, grease, wax, etc. Wipe the back surface of the panels with a clean cloth to remove dust or debris, Perform a “dry layout” prior to applying adhesive.
Measure walls & check for level and square. depending on dimensions and room construction, you may need to trim some panels accordingly.
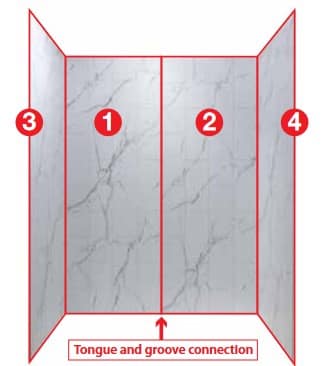
Install the back wall panels first, from left to right (1&2). Next, install the side wall panels (3 & 4). Note that panels 1 & 2 will connect together with tongue and groove, so pay attention ahead of install so that connections works.
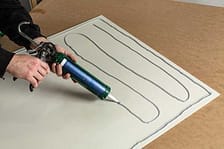
Apply adhesive to the back of the first panel. Using recommended adhesive, apply a 1/8″ bead around the perimeter of the panel, about 1″ in from the edge. Then, apply rows of adhesive every 4-6″ apart in a typical “S” pattern.
Insert sealant from end to end into the deeper channel of the first inside corner trim. Panel 1 will be inserted into this channel.
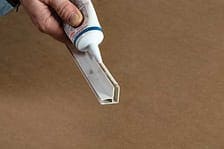
Slide the inside corner trim onto panel 1.
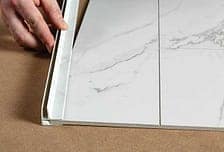
With the inside corner trim facing the left corner, and after applying adhesive to back of panel 1, press the panel onto the back wall. Make sure it is tight into the corner.
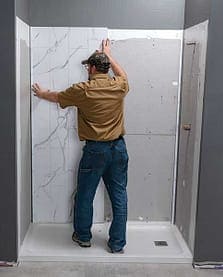
Before installing panel 2, be sure to put a bead of sealant along the tongue and groove edge of panel 1
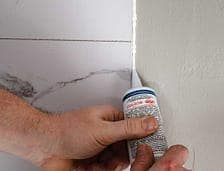
Like with panel 1, apply adhesive to the back of panel 2.
Insert sealant into the second inside corner trim from end to end. Slide the inside corner trim on panel 2. Like panel 1, make sure it is the deeper channel as that is the one that panel 2 will go into.
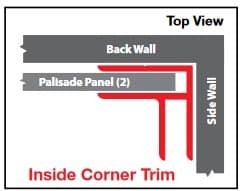
With the inside corner trim facing the right corner, press panel 2 onto the back wall. Make sure the corner trim and panel is tight in the corner.
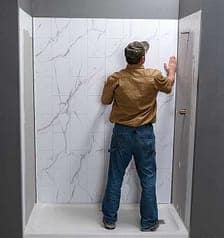
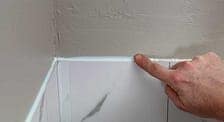
Detail showing the tongue and groove connection.
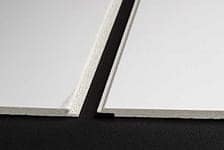
Slide the panel to the left so the tongue and groove of the panel edges click together. Wipe off any sealant that squeezes out or add more if needed
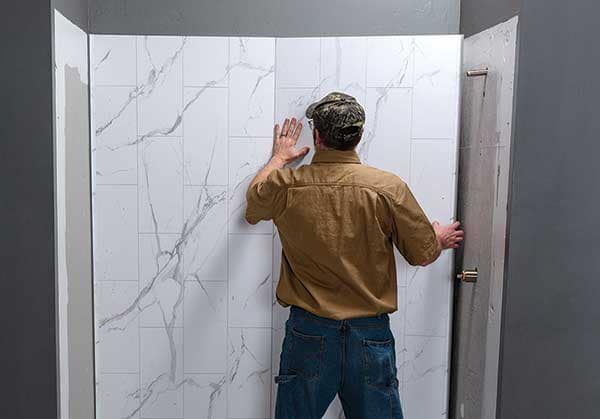
There is enough depth to the inside corner trim to allow plenty of panel movement to fit the panels together. Also, check for any sealant that may squeeze out of the inside corner trims. That will need to be wiped off or if lacking, you may need to apply more.
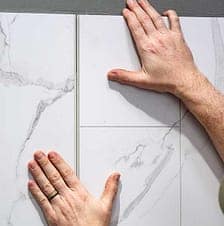
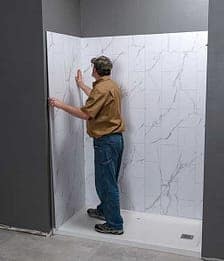
Apply sealant into the other side of the inside corner trim that is already installed. Then apply adhesive to the back of panel 3 and affix to left wall and make sure it is inserted into the inside corner trim.
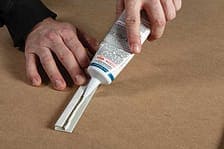
Apply adhesive into J-trim piece.
Install the J-trim to cover the outside edge of panel 3.
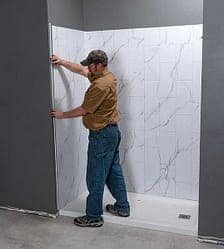
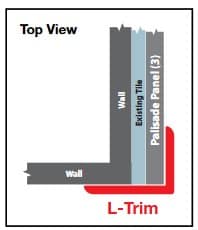
L-Trim Option
Note: If applying shower wall system over existing substrate such as tile, you will need to use L-trim which will better accommodate the thicker dimension of the wall.
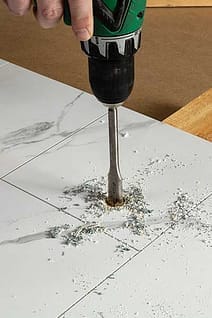
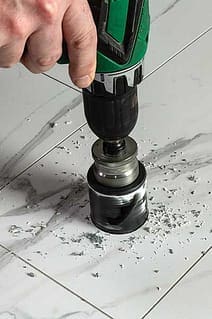
Cut panels to accommodate shower components. Measure and mark the locations and use one of these types of drills or hole saws.
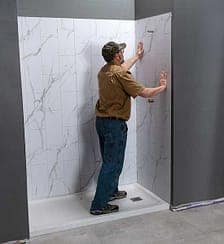
Apply sealant into the other side of the inside corner trim that is already installed. Then apply adhesive to the back of panel 4 and affix to right wall and making sure it is inserted into the inside corner trim.
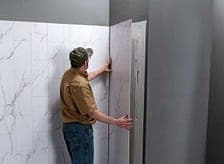
Also make sure it is fitting nicely to the plumbing.
Insert sealant into the second J-trim from end to end.
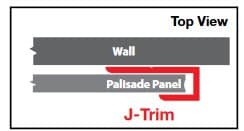
Install the J-trim to cover the outside edge of panel 4.
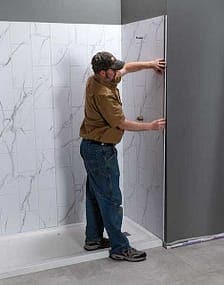
Apply sealant to top edges of all the panels for a watertight seal.
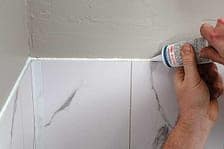
Smooth the sealant across the panels for adequate coverage.
