Although Palisade tiles are 100% waterproof, we recommend the use of a siliconized sealer like DAP® or SilTex in the seams for added protection. Follow your local building codes for wet environments like shower and tub enclosures. We recommend a 100% waterproof substrate that will prevent water from getting behind potentially unsealed areas that would cause mold or other damage.
READ this entire installation guide before beginning your installation. ACP is not responsible and will not be held liable for project failures if installation guidelines are not followed.
Acceptable waterproof substrates: existing ceramic tile walls, CementBoard ® , Schluter Kerdi Board® , GP DensShield® , Johns Manville GoBoard® ,HardieBacker® , Fiberock® and equivalent products. Always follow manufacturer’s installation instructions to create a waterproof enclosure
What is included:
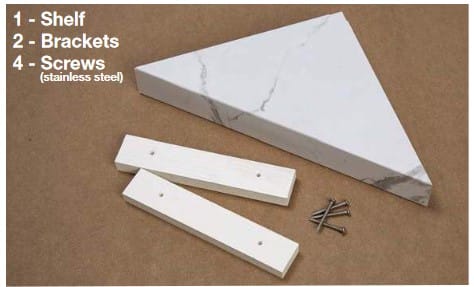
- Protective eye wear
- Level
- Screwdriver or screw gun
- Caulking gun for 10.3 oz adhesives: Loctite® Power Grab® Ultimate (white formula), LIQUID NAILS® FUZE*IT®,Titebond Titegrab UltimateTM and Manus 75-AM HV(In Canada, use Lepage® No More Nails Wet Grab)
- Silicone-based sealant
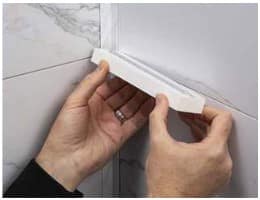
After locating where you want to place the shelf, put adhesive onto bracket.
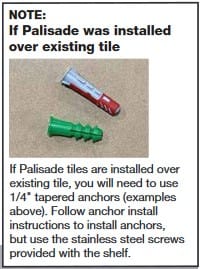
Install the first screw closest to the corner of the shower.
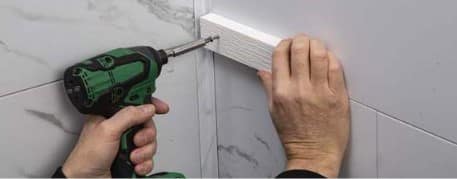
Before installing the second screw, be sure to level the bracket.
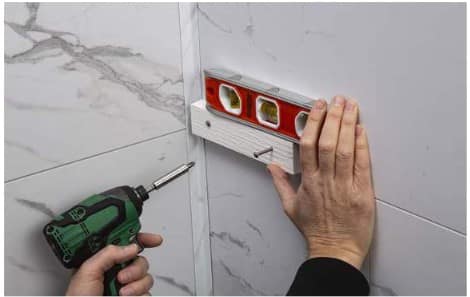
Repeat the same process for the other bracket.
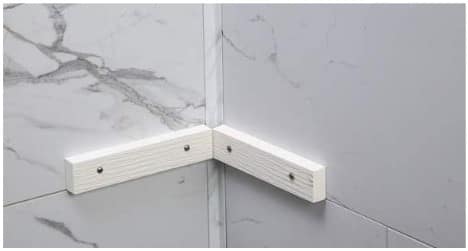
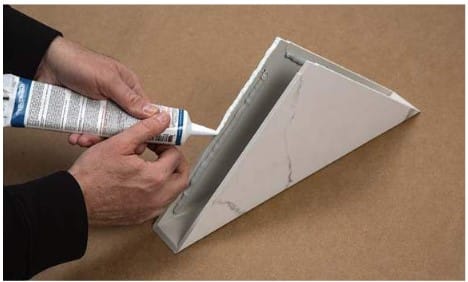
Before installing the shelf, place a bead of adhesive on both inside edges of the shelf. Placing adhesive here will help eliminate glue pushing out onto the outside surfaces of the shelf.
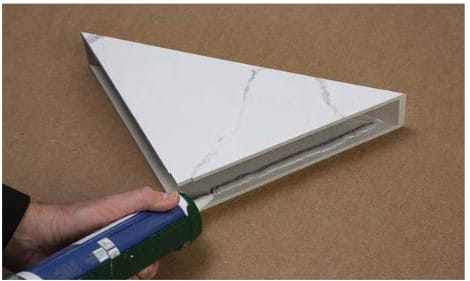
After you have applied the adhesive, place a small bead of sealant along the edges that will go against the shower wall.
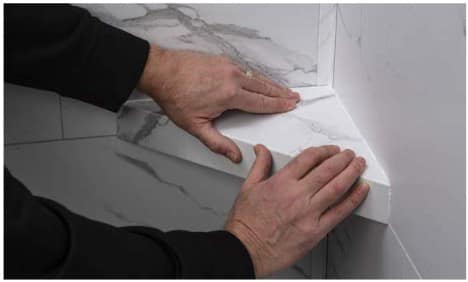
Carefully slide the shelf onto the brackets.
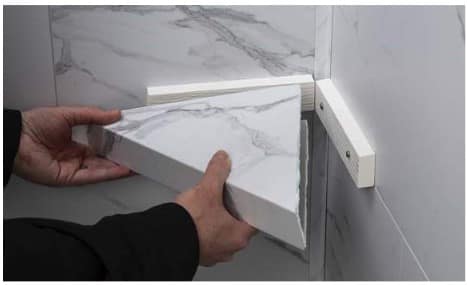
Continue to push the shelf into place for a tight fit against the wall.
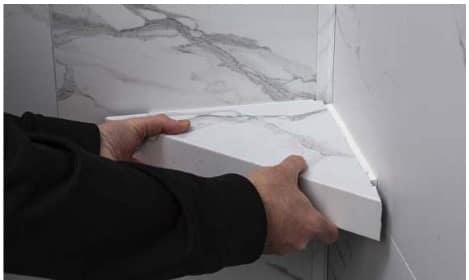
Wipe off any excess sealant that pushes out or add sealant in areas needed.
